
Why AI Video Text Removal Looks Blurry, Ghosted, or Flickers
Learn why removed video text can look blurry, ghosted, or flicker across frames, and how tighter targeting, better source footage, and result review can improve cleanup.
On this page
A blurry patch, faint subtitle outline, and flickering repair need different checks. Before processing again, compare the input and output at the same moment: is the problem leftover text, lost background detail, or a change that only appears during playback?
AI text removal reconstructs an area whose original pixels may be hidden. Better targeting can help, but some scenes remain difficult even with a careful selection.
Match the symptom to the next check
| What you see | Possible explanation | What to check first |
|---|---|---|
| A smooth or blurry patch | Fine texture was not reconstructed, or the target is too broad | Compare the selected area with the full text boundary |
| Faint letter-shaped edges | A missed outline or shadow, or an incomplete reconstruction | Compare the residue with the original lettering |
| Shimmer or flicker in motion | The repair varies between frames | Replay where the background or camera moves |
| A warped face or object edge | Text overlaps moving detail | Check whether that detail is hidden in the source |
Blurry patch: inspect the background and selection
Pause the input and result at the same point. If the entire output looks softer, first compare playback size, output resolution, and compression. A resolution change can soften the whole picture without being a local inpainting defect.
If only the old subtitle region looks smooth, inspect what used to be behind it. Hair, fingers, patterned clothing, water, and reflections contain detail the model may not rebuild accurately. A broad target also asks it to replace more of the scene than necessary.
Try next: in Select Area, reduce unused space around the text while keeping its complete edges inside. If the existing box is already precise, making it smaller may leave letters behind without improving the reconstructed texture. Use a cleaner source or test a shorter section instead.
Ghosting: distinguish missed text from a poor repair
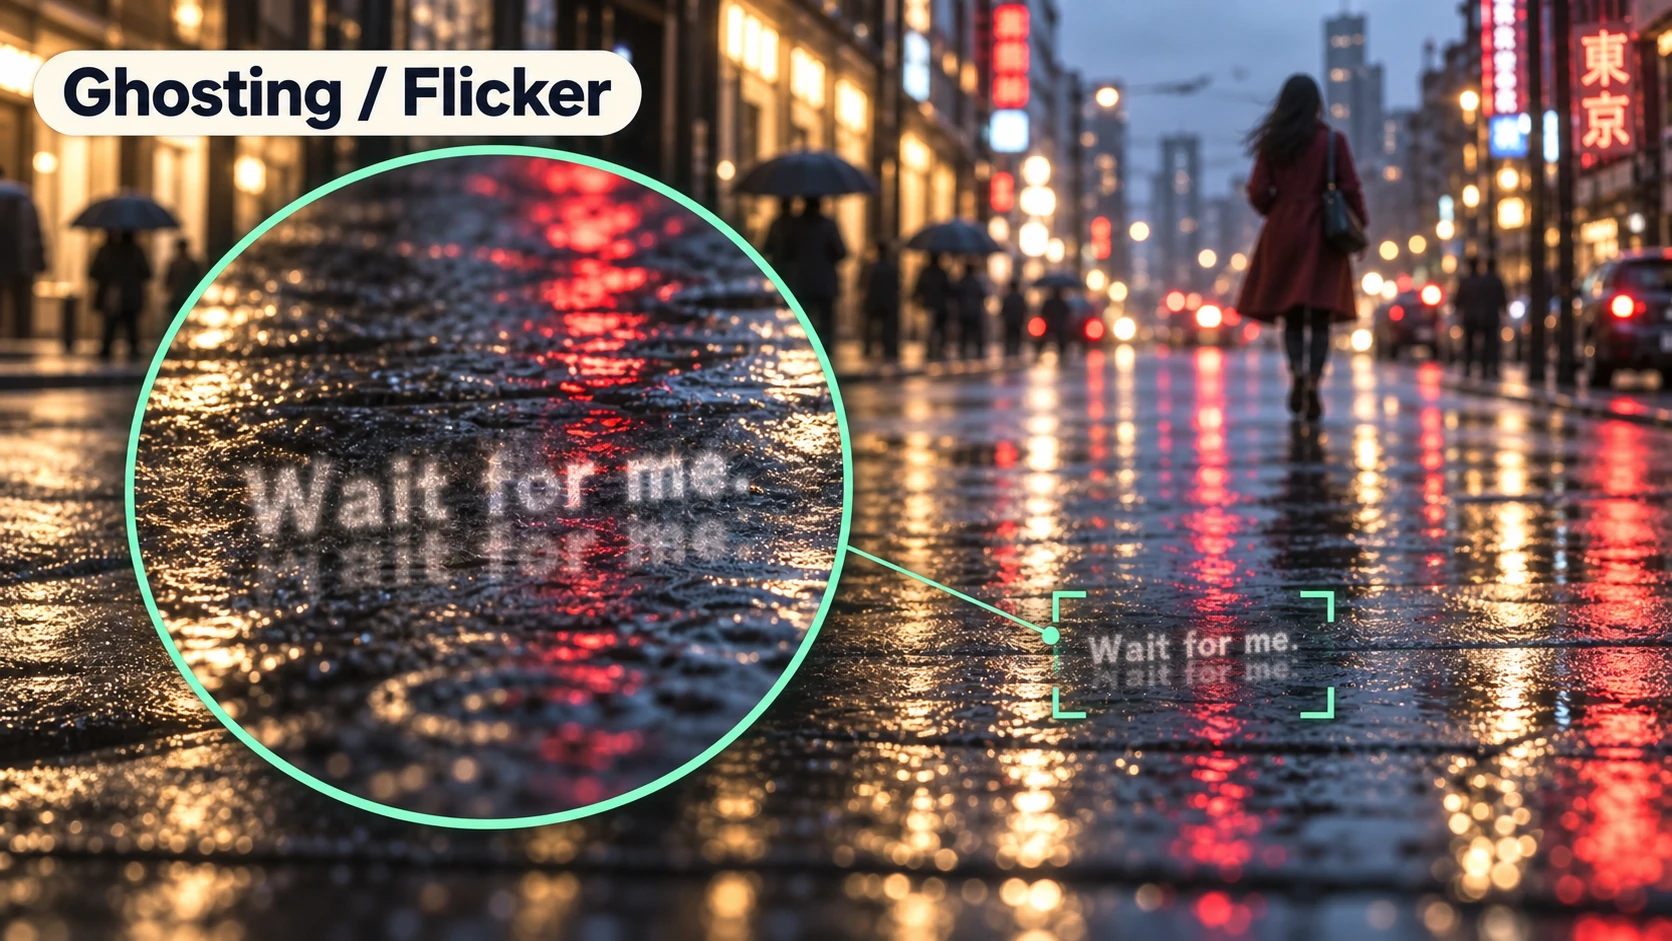
Look for a repeated letter shape. White letters often have a dark outline, drop shadow, or anti-aliased edge; a translucent subtitle panel may extend beyond the words too.
Compare the residue with the input. If it follows an edge just outside the selection, expand that edge slightly. If the full text was already inside the box, the model may simply have left a partial reconstruction. Increasing the box substantially can damage more background without removing the ghost.
Flicker: judge the repair across time
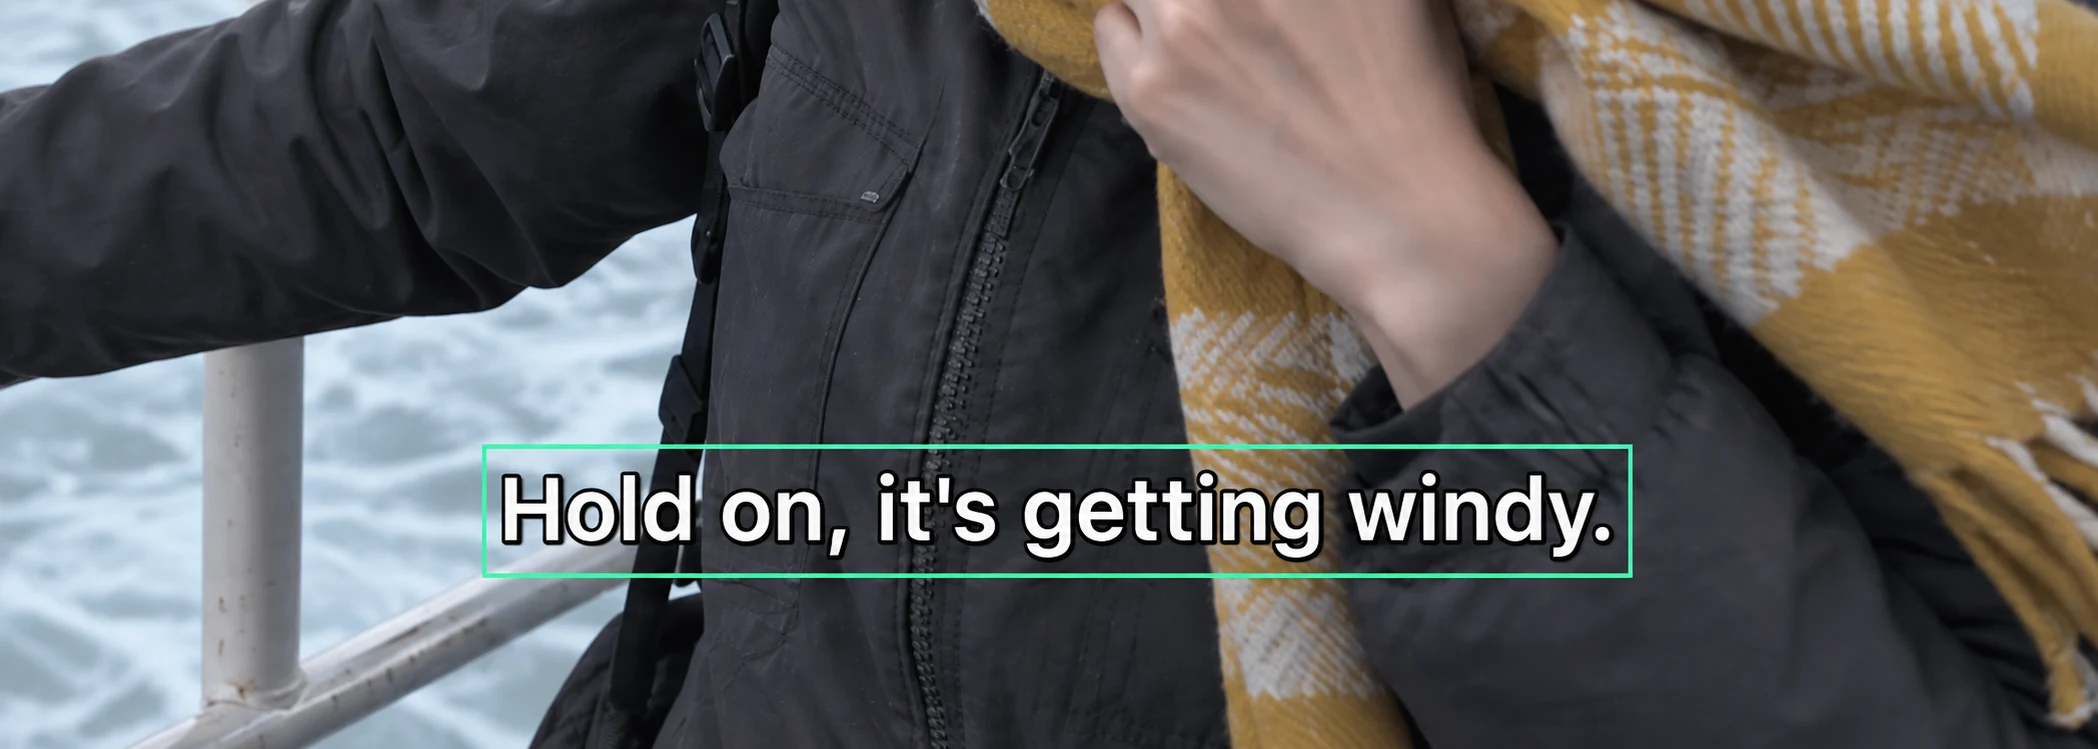
Play a short section at normal speed, then replay it. Watch the repaired region as the camera moves or a scarf, hand, or object passes behind the original words. A convincing single frame can still look unstable in motion.
Pause at several points to see whether the same edge changes shape or a patch switches texture. Compare with the original: moving water, reflections, and compression can already shimmer in the source.
Try next: check that the full caption stays within the selection throughout its time range. For changing lines, include the longest line and any second line. For moving text, check its path rather than fitting the box to one convenient frame.
A stable selection prevents missed portions of the target; it does not guarantee a stable reconstruction. If flicker remains with the text fully covered, test a shorter source segment. A clean master, an acceptable crop, or a visible replacement graphic may be more suitable for a difficult shot.
Refine the target without covering the scene
In the AI Video Text Remover, Auto Remove is the automatic text-detection option. Switch to Select Area when you need to control one particular region or automatic detection misses the intended target.
The useful boundary is the smallest area that includes all the unwanted text and its visible treatment during the relevant interval. “Tighter” means removing unnecessary space, not cutting through outlines or the next caption line.
Use each adjustment to test one change
Completed text removal includes 2 free adjustments. Keep the first output for comparison and change the setting that matches the symptom:
- Broad smooth patch: tighten unused space around the target.
- Missed letter edge: include that outline or shadow.
- Text escapes the box: correct the region or its timing.
Compare the same section after the adjustment, at the same playback size. Stop shrinking the box once it fits the complete text. Repeating an unchanged setup is not a reliable way to recover hidden detail, and further processing of an already softened output can compound the loss. Keep the original input available.
Decide whether the result is usable
Check normal-speed playback at the size your audience will see, then inspect suspect moments closely. Confirm that the words are gone, the repair stays visually stable, and nearby details remain intact. Heavy zoom is useful for finding a missed outline, but it is not a substitute for watching the video.
If a face or product feature remains visibly distorted, do not rely on the repaired version for an accurate representation of that detail. Return to a clean source or choose a different edit.
Before spending another pass on any clip, rule out the easier route: soft subtitles can be switched off, and an editable CapCut caption can be deleted in the project. Neither requires reconstructing the picture.